OpenAPI
Generate frontend interface requests, Mock files, and documentation from Swagger documentation.
Setup
- Install the plugin
$ npm add @winner-fed/plugin-openapi -D$ yarn add @winner-fed/plugin-openapi -D$ pnpm add @winner-fed/plugin-openapi -D$ bun add @winner-fed/plugin-openapi -D- Enable this feature in the configuration file
.winrc
import { defineConfig } from 'win';

export default defineConfig({
  plugins: [require.resolve('@winner-fed/plugin-openapi')],
  /**
   * @name openAPI plugin
   * @doc https://winjs-dev.github.io/winjs-docs/plugins/openapi.html
   */
  openAPI: {
    requestLibPath: "import { request } from 'winjs'",
    schemaPath: "https://petstore.swagger.io/v2/swagger.json",
    mock: true,
  }
});- Add a command to the scripts in the
package.jsonfile in the project root directory.
{
  "scripts": {
    "openapi": "win openapi"
  }
}
Finally, we can execute npm run openapi to generate related interfaces and documentation.
Configuration
openAPI: {
    // Custom request method path
    requestLibPath: joi.string(),
    // Swagger 2.0 or OpenAPI 3.0 address
    schemaPath: joi.string(),
    // Generated folder path, defaults to src/services
    serversPath: joi.string(),
    // Whether to generate Mock files
    mock: joi.boolean(),
    // Project name, defaults to package.json name, otherwise openapi
    projectName: joi.string(),
    // API prefix
    apiPrefix: joi.alternatives(joi.string(), joi.function()),
    // Namespace name, defaults to API
    namespace: joi.string(),
    // Custom hooks
    hook: joi.object({
      // Custom request method function name
      customFunctionName: joi.function(),
      // Custom class name
      customClassName: joi.function()
  })
}
How to Use
OpenAPI requires some work from the backend, but the workload is far less than maintaining documentation. If maintaining documentation, you need to re-edit the documentation every time you update the code. Using the openAPI approach only requires integrating swagger and doing some configuration to generate an interface. If you're using Python or Java, integration becomes exceptionally simple. For detailed integration steps, see the official swagger documentation. This mainly introduces how the frontend uses it.
After the backend completes swagger integration, we can access the swagger-generated documentation, which is generally http://localhost:8080/swagger-ui.html. From the page, we can get an openapi specification file. Here we'll use the official petstore as an example:
We need to copy the swagger URL to the openapi configuration. Let's configure it:
openAPI: {
   requestLibPath: "import { request } from 'winjs'",
   schemaPath: "https://petstore.swagger.io/v2/swagger.json",
   mock: false,
 }
There are two configurations requestLibPath and mock that need attention.
requestLibPath
requestLibPath defines how to use request. Generally, we recommend directly using winjs's request, but sometimes customization is needed. You can modify the requestLibPath configuration. For example, to use request from utils, we can configure it like this:
openAPI: {
   requestLibPath: "import request from '@utils/request'",
   schemaPath: "https://petstore.swagger.io/v2/swagger.json",
   mock: false,
 }
Of course, you need to ensure that the schemaPath configuration imports request, otherwise the generated code may not execute. The generated code looks like this:
// requestLibPath configuration
import { request } from "winjs";

/** Create user This can only be done by the logged in user. Return value: successful operation POST /user */
export async function createUser(
  body: API.User,
  options?: { [key: string]: any }
) {
  return request<any>("/user", {
    method: "POST",
    headers: {
      "Content-Type": "application/json",
    },
    data: body,
    ...(options || {}),
  });
}
Comments are also automatically loaded, saving us the trouble of checking documentation. At the same time, we also generate a typings.d.ts file in services, which contains all definitions included in openapi. API.User is the description of the data that the backend needs to return, example as follows:
declare namespace API {
  type User = {
    id?: number;
    username?: string;
    firstName?: string;
    lastName?: string;
    email?: string;
    password?: string;
    phone?: string;
    /** User Status */
    userStatus?: number;
  };
}
mock
mock is relatively simple. When configured to true, it will automatically generate some mock files. Although the quality is not as good as manually written ones, it's fine for development use. The generated mock files are in the mock folder in the project root path. The generated mock data is different each time. If you want to debug, you can modify it freely. Only executing npm run openapi will make changes.
// @ts-ignore

export default {
  "GET /pet/:petId": (req, res) => {
    res.status(200).send({
      id: 84,
      category: { id: 63, name: "Liu Ming" },
      name: "doggie",
      photoUrls: [
        "https://ant.design",
        "https://preview.pro.ant.design/dashboard/analysis",
        "https://ant.design",
        "https://procomponents.ant.design/",
        "https://preview.pro.ant.design/dashboard/analysis",
        "https://github.com/umijs/dumi",
        "https://github.com/umijs/dumi",
        "https://github.com/umijs/dumi",
        "https://preview.pro.ant.design/dashboard/analysis",
        "https://procomponents.ant.design/",
        "https://ant.design",
        "https://procomponents.ant.design/",
      ],
      tags: [
        { id: 62, name: "Lai Min" },
        { id: 74, name: "Zheng Ping" },
        { id: 74, name: "Sun Na" },
        { id: 61, name: "Qiu Xiuying" },
        { id: 77, name: "Qiu Tao" },
        { id: 74, name: "Wen Chao" },
        { id: 82, name: "Jia Gang" },
        { id: 83, name: "Xiong Ming" },
        { id: 71, name: "Yu Li" },
        { id: 81, name: "Lu Jun" },
        { id: 83, name: "Kong Yong" },
        { id: 63, name: "Zhu Ming" },
        { id: 89, name: "Qian Ping" },
        { id: 76, name: "Li Xiulan" },
      ],
      status: "available",
    });
  },
};
Documentation
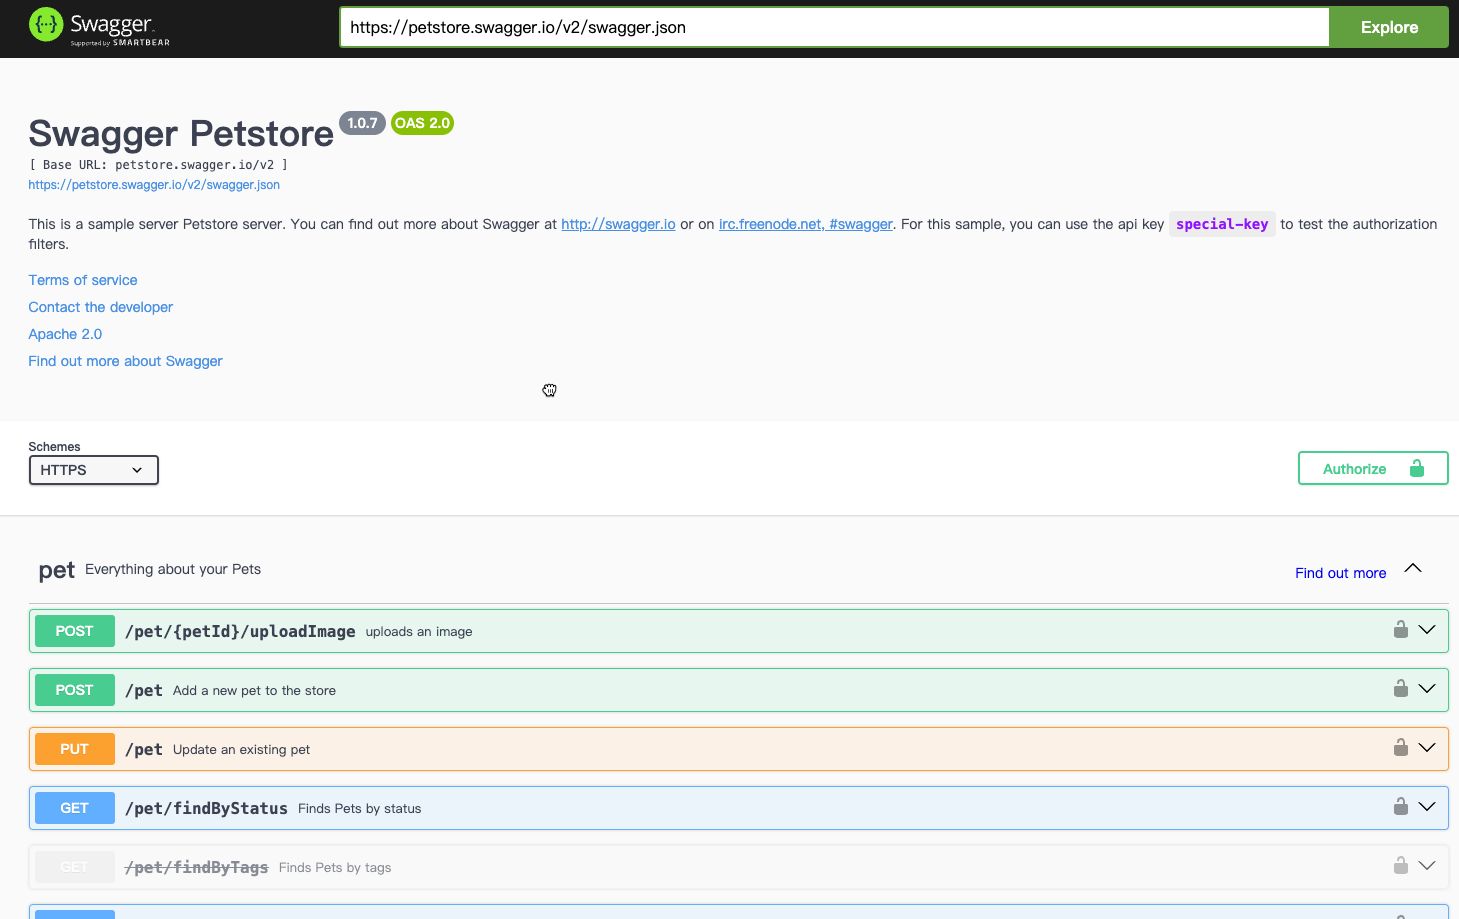
In development, we can't just look at code; we also need to look at documentation. The plugin also integrates swagger-ui by default, providing an interface to read the openapi configuration in the current project. This operation is only effective in the development environment. We can access /win/plugin/openapi to view it. The final effect should look like this: