OpenAPI
将 Swagger 文档生成前端所需的接口请求、Mock 文件和文档说明。
启用方式
- 安装插件
$ npm add @winner-fed/plugin-openapi -D$ yarn add @winner-fed/plugin-openapi -D$ pnpm add @winner-fed/plugin-openapi -D$ bun add @winner-fed/plugin-openapi -D- 在配置文件中
.winrc中开启该功能
import { defineConfig } from 'win';

export default defineConfig({
  plugins: [require.resolve('@winner-fed/plugin-openapi')],
  /**
   * @name mobileLayout 插件
   * @doc https://winjs-dev.github.io/winjs-docs/plugins/openapi.html
   */
  openAPI: {
    requestLibPath: "import { request } from 'winjs'",
    schemaPath: "https://petstore.swagger.io/v2/swagger.json",
    mock: true,
  }
});- 在项目根目录的
package.json文件的 scripts 增加一个命令。
{
  "scripts": {
    "openapi": "win openapi"
  }
}
最后我们就可以执行 npm run openapi 来生成相关的接口和文档。
配置
openAPI: {
    // 自定义请求方法路径
    requestLibPath: joi.string(),
    // Swagger 2.0 或 OpenAPI 3.0 的地址
    schemaPath: joi.string(),
    // 生成的文件夹的路径,默认为 src/services
    serversPath: joi.string(),
    // 是否生成 Mock 文件
    mock: joi.boolean(),
    // 项目名称,默认取 package.json 的name,否则为 openapi
    projectName: joi.string(),
    // api 的前缀
    apiPrefix: joi.alternatives(joi.string(), joi.function()),
    // 命名空间名称,默认为 API
    namespace: joi.string(),
    // 自定义 hook
    hook: joi.object({
      // 自定义请求方法函数名称
      customFunctionName: joi.function(),
      // 自定义类名
      customClassName: joi.function()
  })
}
如何使用
openAPI 对于后端是有一些工作量的,但是工作量远远小于维护一个文档的成本,如果维护一个文档,那么每次更新完代码就需要重新编辑一遍文档。而使用 openAPI 的方式只要接入 swagger 然后做一些配置就可以生成一个界面,如果你使用的是 python 或者是 java,那么接入会变得异常简单。详细的接入步骤可以看 swagger 的官方文档。这里主要介绍前端如何使用。
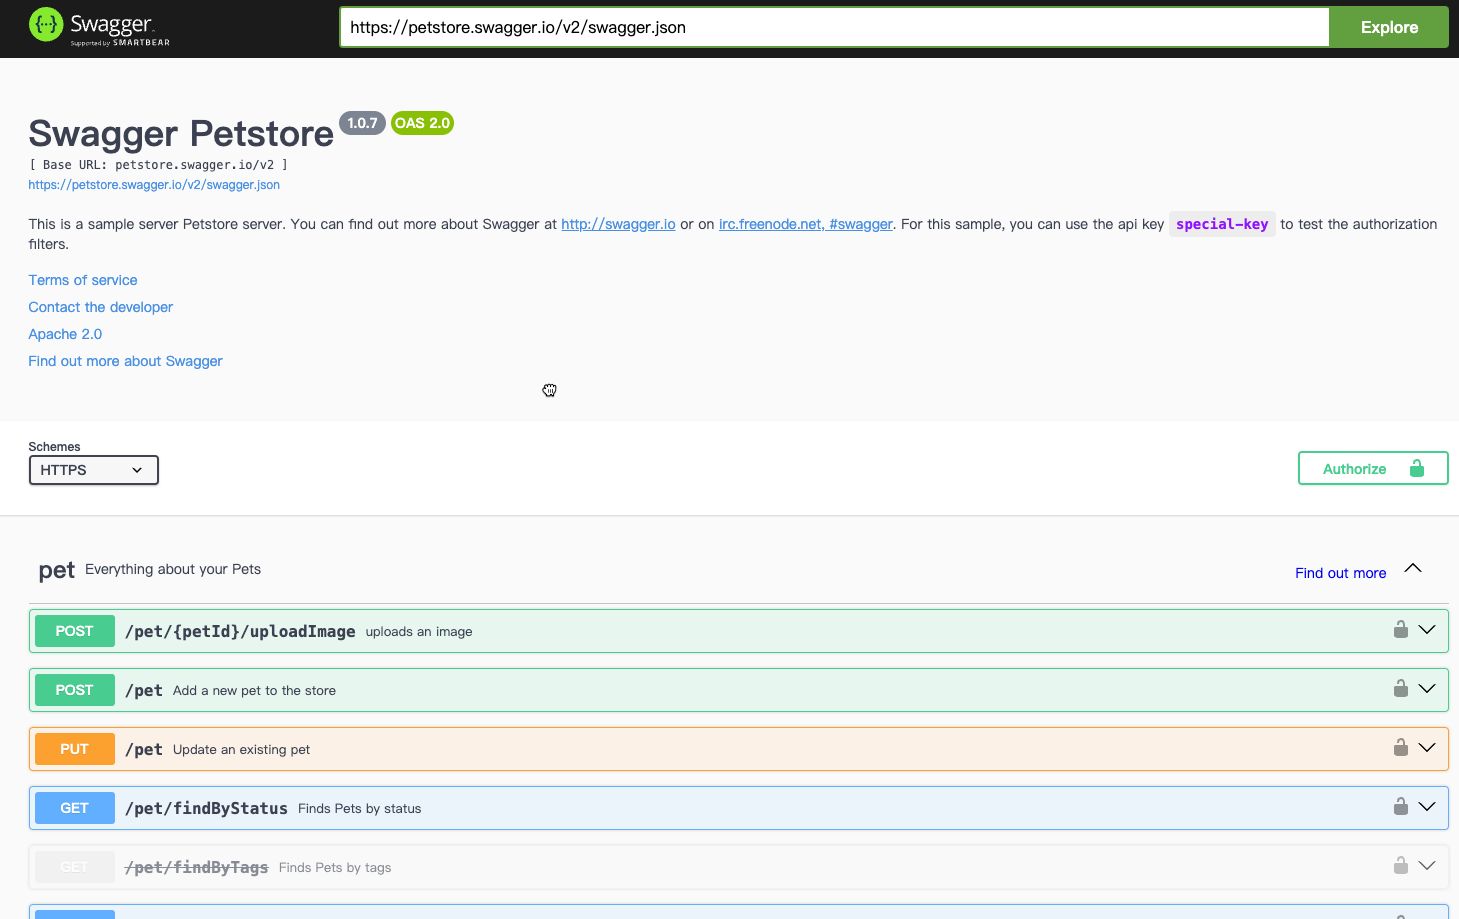
后端接入完成 swagger 之后,我们可以访问 swagger 生成的文档,一般来说都是 http://localhost:8080/swagger-ui.html,访问页面我们可以拿到一个 openapi 的规范文件。这里以官方的 petstore 为例说明
我们需要复制 swagger 的 url 到 openapi 的配置中,我们配置一下:
openAPI: {
   requestLibPath: "import { request } from 'winjs'",
   schemaPath: "https://petstore.swagger.io/v2/swagger.json",
   mock: false,
 }
这里有两个配置 requestLibPath 和 mock 需要注意一下。
requestLibPath
requestLibPath 可以如何使用 request, 一般而言我们推荐直接使用 winjs 的 request,但是有些时候需要自定义,可以修改 requestLibPath 的配置,比如要使用 utils 的中的 request,我们可以这么配置:
openAPI: {
   requestLibPath: "import request from '@utils/request'",
   schemaPath: "https://petstore.swagger.io/v2/swagger.json",
   mock: false,
 }
当然需要保证 schemaPath 配置引入 request,不然生成的代码可能无法执行。生成的代码如下:
// requestLibPath 的配置
import { request } from "winjs";

/** Create user This can only be done by the logged in user. 返回值: successful operation POST /user */
export async function createUser(
  body: API.User,
  options?: { [key: string]: any }
) {
  return request<any>("/user", {
    method: "POST",
    headers: {
      "Content-Type": "application/json",
    },
    data: body,
    ...(options || {}),
  });
}
注释也会自动载入,省去了我们查文档的麻烦,同时在 serves 中我们也会生成 typings.d.ts 文件,里面有 openapi 中包含所有定义。API.User 就是后端需要返回的数据的描述,例子如下:
declare namespace API {
  type User = {
    id?: number;
    username?: string;
    firstName?: string;
    lastName?: string;
    email?: string;
    password?: string;
    phone?: string;
    /** User Status */
    userStatus?: number;
  };
}
mock
mock 就比较简单了,配置为 true 之后会自动生成一些 mock 的文件,虽然质量不如我们人肉写的,但是在开发中使用已经没问题了。生成的 mock 文件在项目根路径下的 mock 文件中,生成的 mock 数据每次都不同,如果要调试可以随意修改,只有执行 npm run openapi 才会进行修改。
// @ts-ignore

export default {
  "GET /pet/:petId": (req, res) => {
    res.status(200).send({
      id: 84,
      category: { id: 63, name: "刘明" },
      name: "doggie",
      photoUrls: [
        "https://ant.design",
        "https://preview.pro.ant.design/dashboard/analysis",
        "https://ant.design",
        "https://procomponents.ant.design/",
        "https://preview.pro.ant.design/dashboard/analysis",
        "https://github.com/umijs/dumi",
        "https://github.com/umijs/dumi",
        "https://github.com/umijs/dumi",
        "https://preview.pro.ant.design/dashboard/analysis",
        "https://procomponents.ant.design/",
        "https://ant.design",
        "https://procomponents.ant.design/",
      ],
      tags: [
        { id: 62, name: "赖敏" },
        { id: 74, name: "郑平" },
        { id: 74, name: "孙娜" },
        { id: 61, name: "邱秀英" },
        { id: 77, name: "邱涛" },
        { id: 74, name: "文超" },
        { id: 82, name: "贾刚" },
        { id: 83, name: "熊明" },
        { id: 71, name: "余丽" },
        { id: 81, name: "陆军" },
        { id: 83, name: "孔勇" },
        { id: 63, name: "朱明" },
        { id: 89, name: "钱平" },
        { id: 76, name: "李秀兰" },
      ],
      status: "available",
    });
  },
};
文档
在开发中我们不能只看代码,也是需要看文档的。插件中也默认集成了以下 swagger-ui ,提供了一个界面可以读取当前项目中的 openapi 配置。 这个操作只在开发环境有效。我们可以访问 /win/plugin/openapi 来查看,最后的效果应该是这样的: